
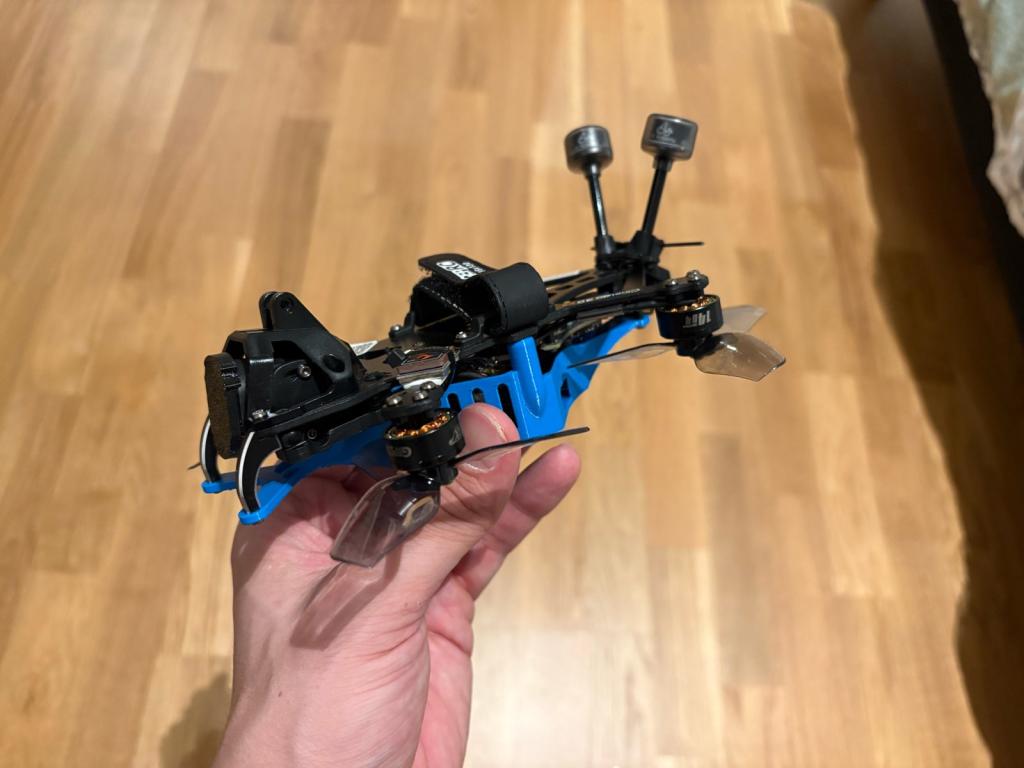
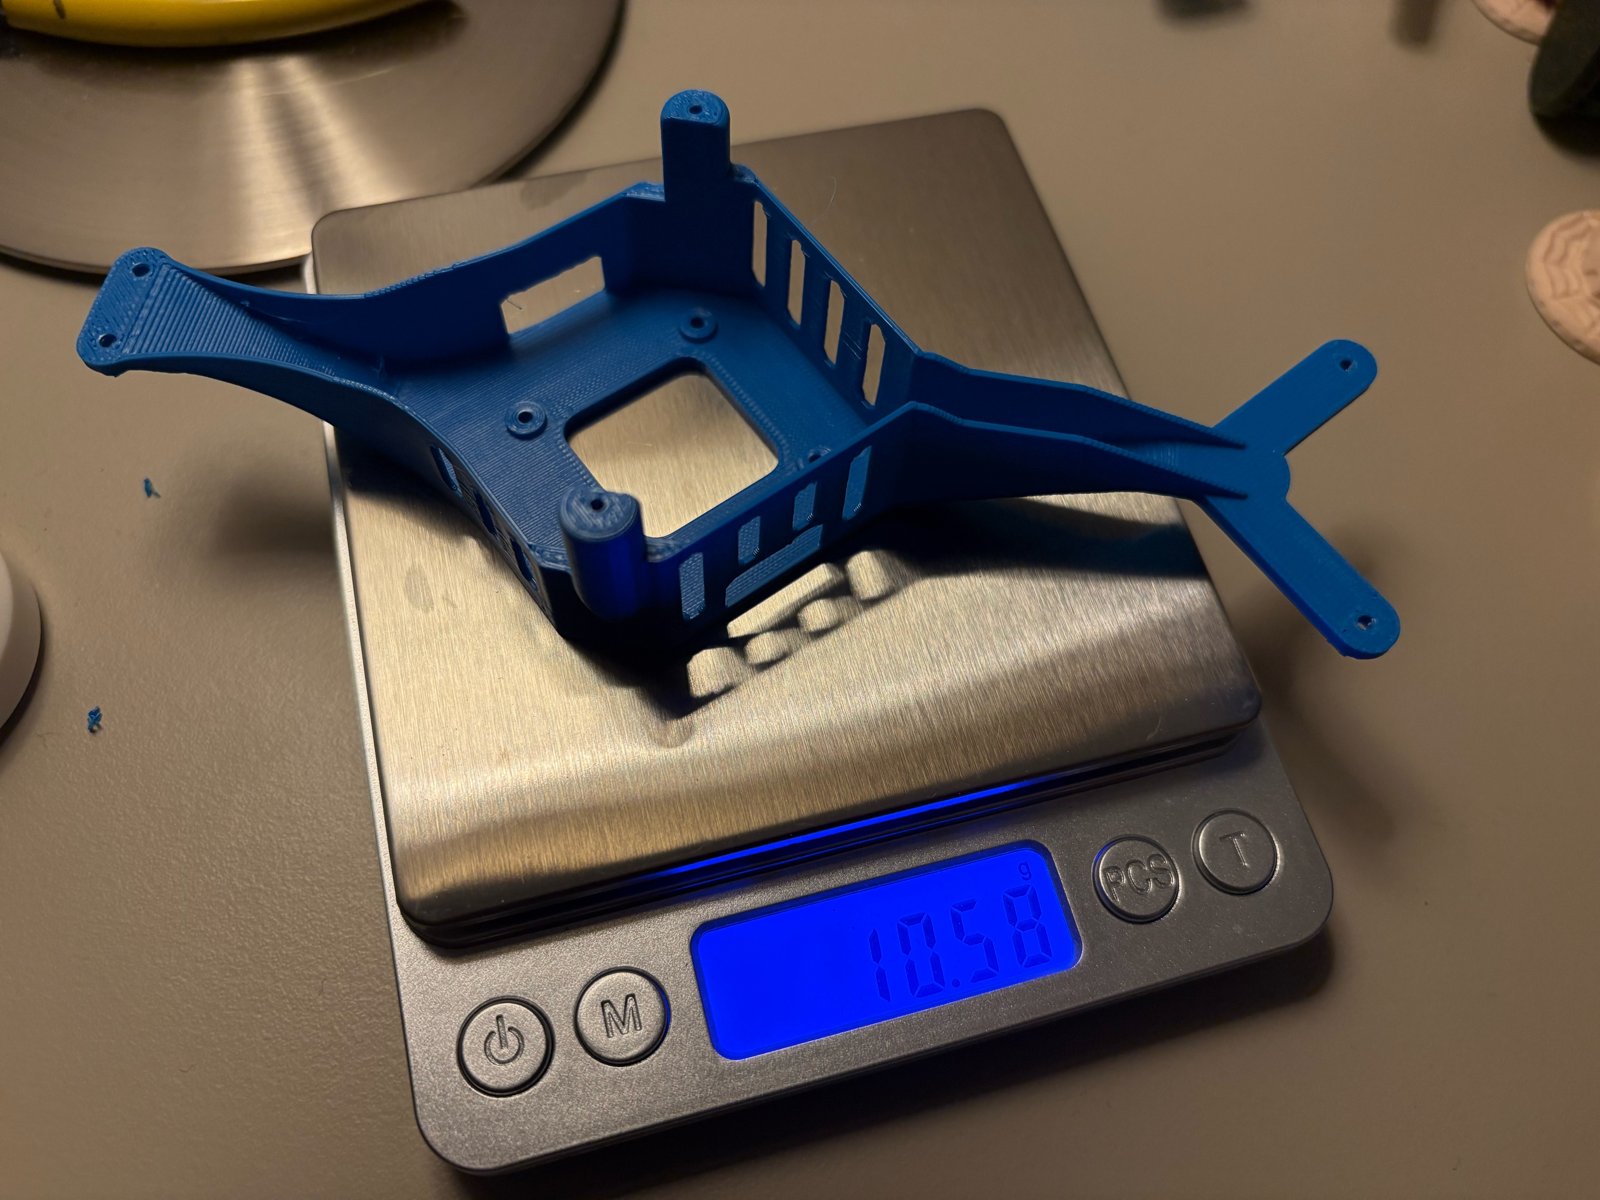
I designed a 3D-printable bottom plate that lets the GEPRC Cinelog30 V3 fly without its prop guard, with a vented housing for the DJI O4 Pro air unit. It weighs 10.6 g on my scale, against almost 30 g for the original prop guard mount, and both versions are printed, assembled and flown.
I have been flying the Cinelog30 V3 for work and for fun since early 2025. In my full review of the Cinelog30 V3 I liked how it flies, but I complained about the frame: too many parts, too many screws, and weight that makes the sub-250 g category harder than it should be. The one-piece injection-molded prop guard is a big part of that.
For indoor and close-proximity work the guard makes sense. For outdoor, action-oriented flying it is mostly drag and grams. A while ago I cut down an official guard to get rid of the ducts. It worked, but it looked awful. This autumn I finally found the time to design a proper bottom plate from scratch.
I designed this prop-guard-free version for one job: fast outdoor chasing while staying in the sub-250 g category. The goal is better handling in windy conditions, more speed, and a more stable and responsive drone. Without the ducts there is less surface for the wind to push on, and the saved grams go into the battery instead.
What it is
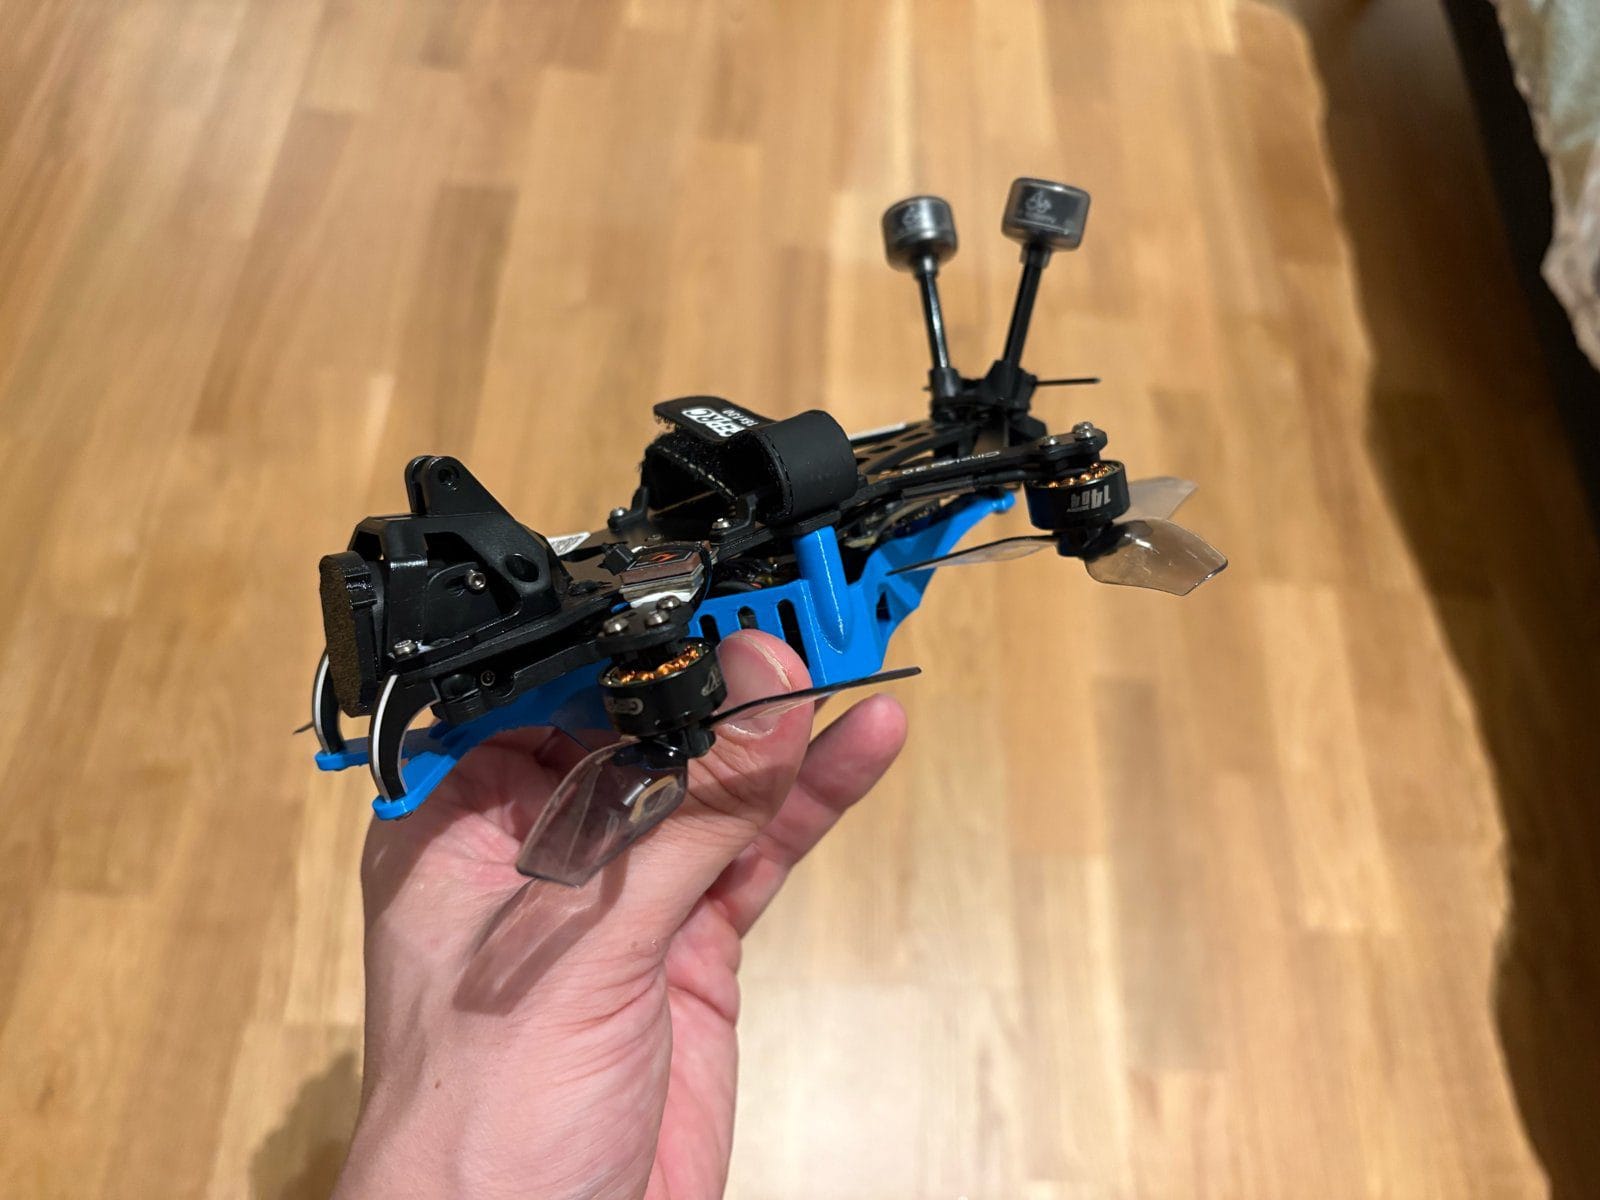
The part replaces the stock prop guard and bottom mount with one printed PETG piece. It does four jobs:
- Houses the DJI O4 Pro air unit in a vented cage, with the camera window and the four mounting holes in the right place.
- Carries the front and rear arms that tie it to the frame, with walls that follow the prop circle at the rear.
- Supports the front camera cage, which helps keep the cage from being knocked out of place on a hard landing (not in a real crash, of course).
- Routes the antenna coax and camera cables inside the housing instead of leaving them exposed.
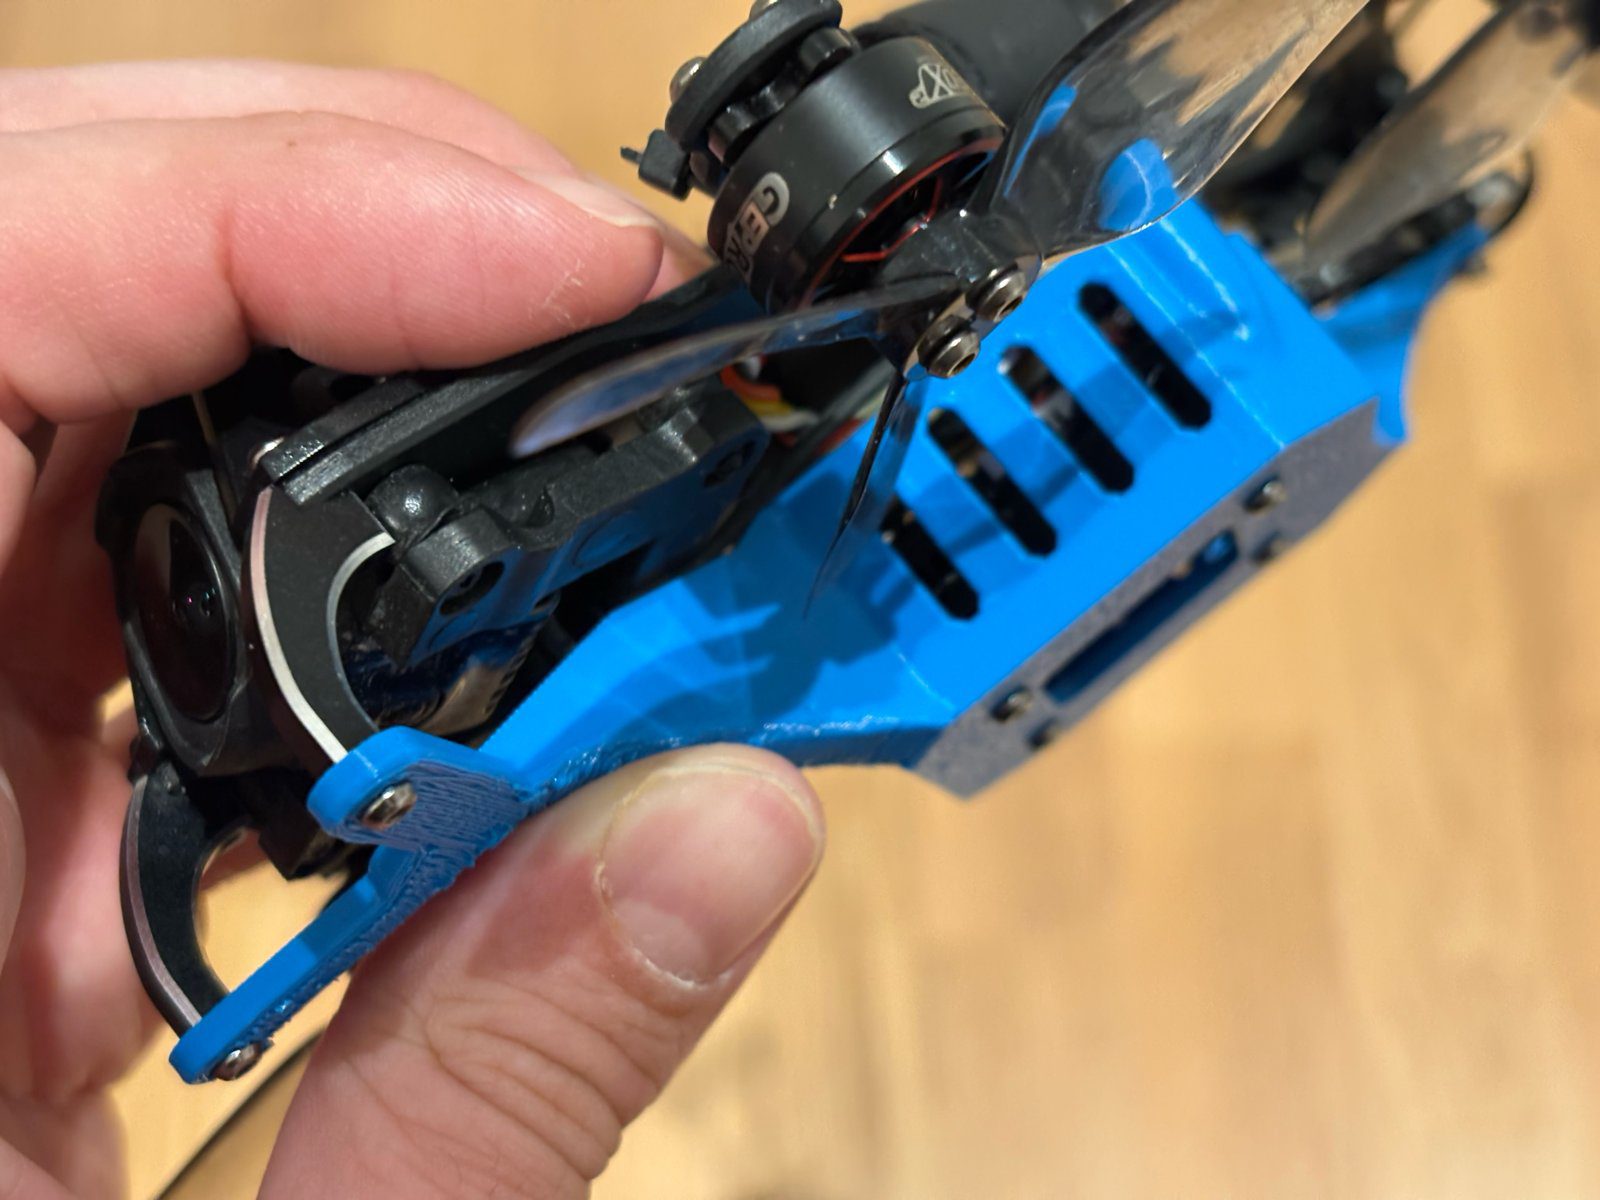
The O4 Pro’s USB-C port stays open and easy to reach. The microSD slot is open too, but it sits close to the wall, so you may need a pair of small, thin pliers to get the card out.
Two versions: plain or with heat-set inserts
The only difference is how the two top posts hold their M2 screws. Pick the plain one if you want the simplest build, the insert one if you will open the drone often.
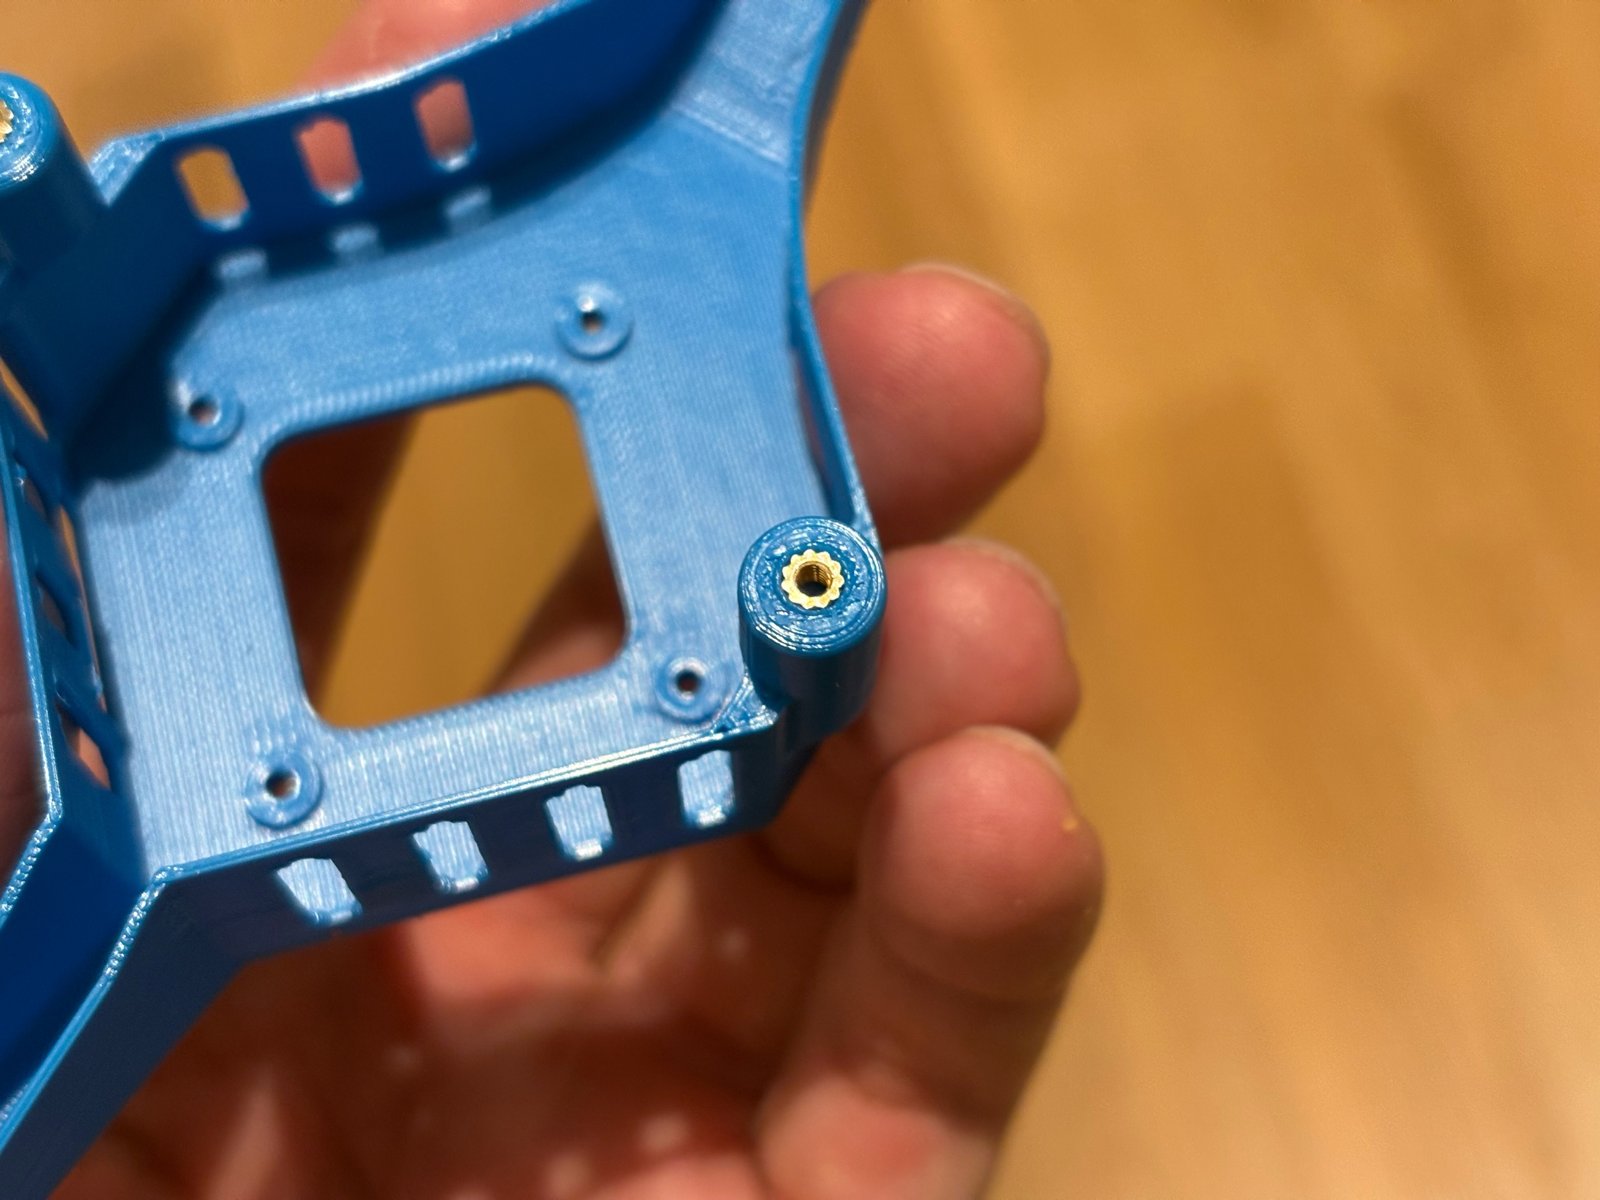
The plain version works, but don’t expect to take it apart every week: the printed threads in the two posts wear out after a few cycles. The insert version is the longer-lasting and more stable option, and it is the one I would build for a work drone.
Weight: room for a bigger battery under 250 g
The printed plate weighs 10.6 g without inserts. The original prop guard mount is almost 30 g, so the swap saves close to 20 g.
That matters because of the sub-250 g (A1) budget. In the review I measured the stock drone at around 188–190 g without battery, which leaves only about 60 g for the pack. Staying under it meant removing the LED strip and hunting for 60 g packs like the Tattu 650 mAh LiHV.
With the printed plate, that margin grows enough to fit a 4S LiHV 850 mAh battery and still stay under 250 g. Weigh your own build with the battery before you fly: packs, receivers and accessories vary by a few grams.
Design details
Every feature had to be light, printable in PETG on a hobby printer, and survive a hard landing. These are the choices that made it into the final version:
- Vented cage. Vent slots around the O4 Pro keep air moving over the air unit. The slot ends are pointed at 45° so they print without support, and the webs between slots are 4.5 mm wide for strength. I tried a middle bar splitting the tall vent grid and dropped it.
- Port windows. Seen from the top with the front up, the microSD window is front-right and the USB-C window is rear-left. The other two sides are closed.
- O4 Pro position. The mounting holes and the camera window are offset 1.0 mm toward the front of the drone.
- Capacitor pocket. The frame’s Ø10 × 14 mm capacitor sits just behind the O4 Pro, so the floor has a pocket for it.
- Rear arc walls. The rear walls follow the 3.1-inch prop circle around the rear motors with 1.45 mm of clearance.
- Arm chamfer. The lower outer edge of the front and rear arm walls has a 1 mm chamfer, ramped in and out at the ends. It prints cleaner and leaves the flat bottom of the plate untouched.
Printing it
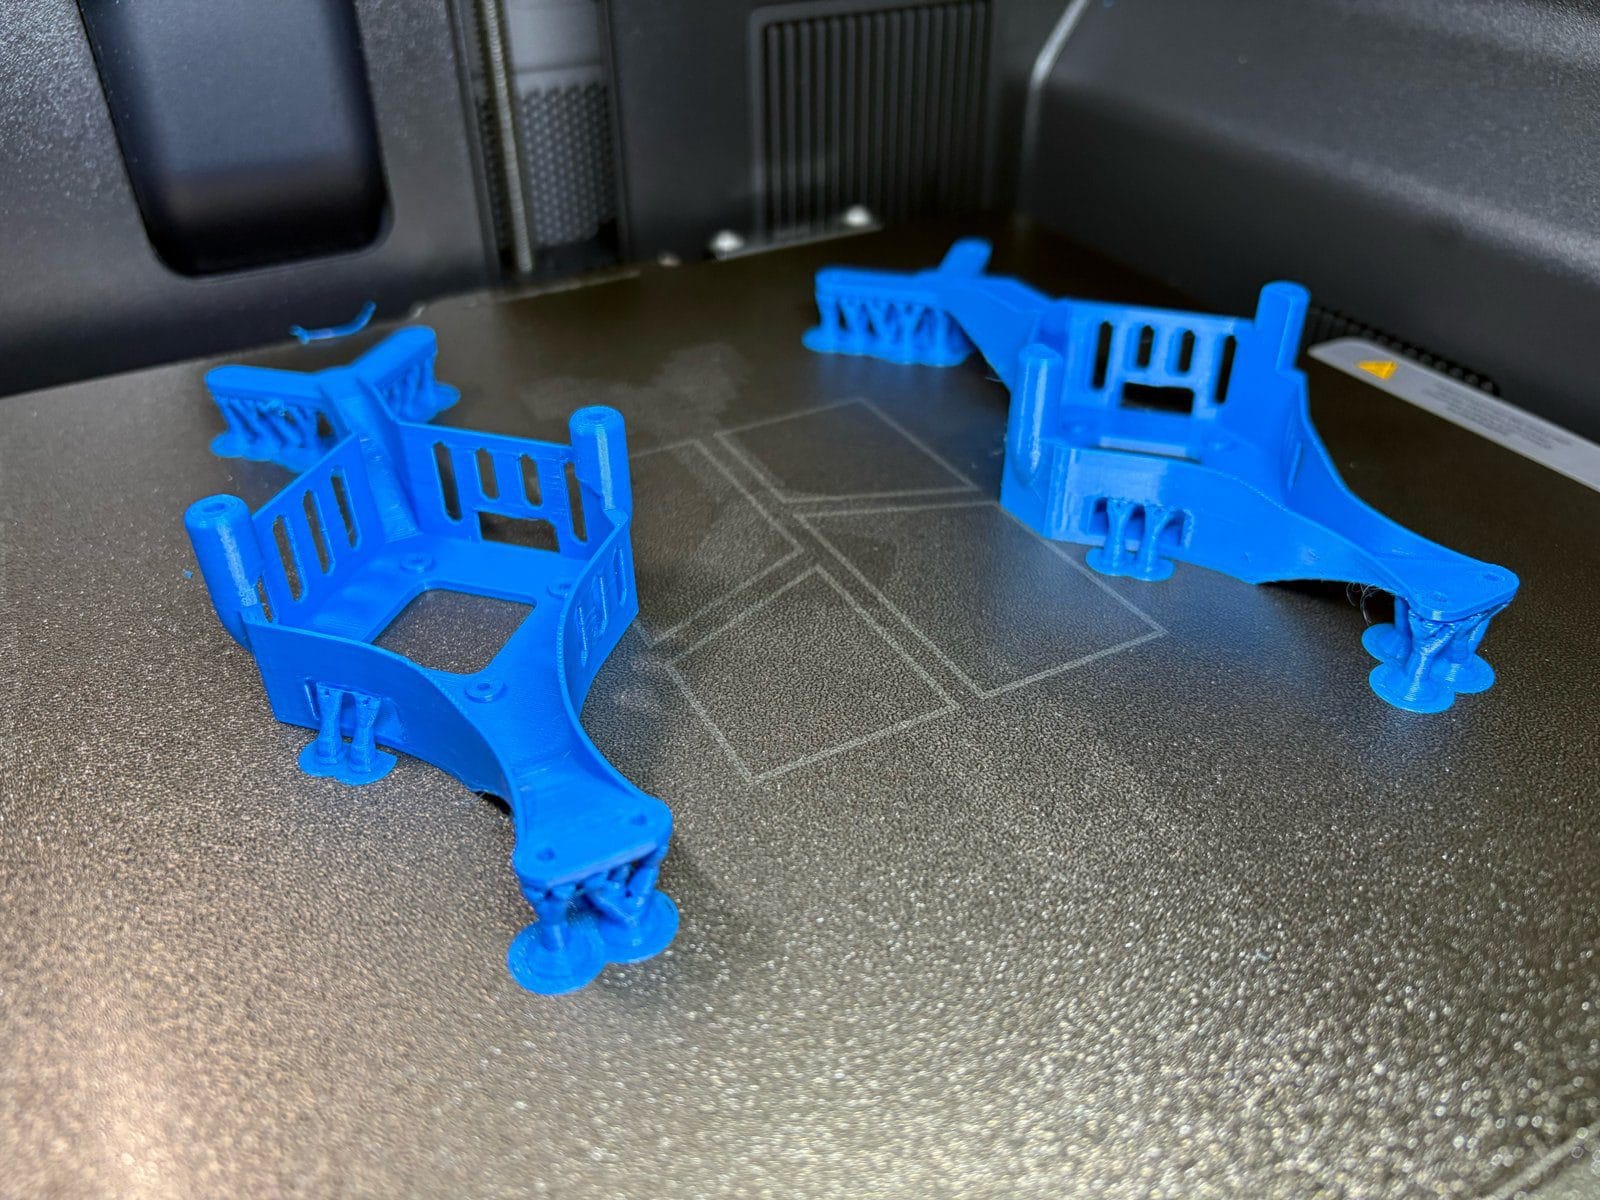
I printed both versions on a Bambu Lab P2S with a 0.4 mm nozzle, in Bambu PETG Basic on a textured PEI plate. The ready-to-print 3MF files have these settings baked in, and they are identical for both versions.
A few things I learned along the way:
- Supports are needed under the cage. With the settings above they left a clean surface and came off easily, so I would not change them.
- Watch the seam. Aligned or Back put the seam right on the chamfered arm edge and made the print look worse. Use Nearest, or paint the seam on an inner face.
- Dry your PETG. Wet filament strings badly. The faster retraction and the 2 mm wipe in the profile help, but dry filament helps more.
Assembly
You need the printed plate, your DJI O4 Pro, M2 screws for the four air unit holes and, for the insert version, two M2 heat-set inserts (3.2 mm OD × 3 mm long).
- Insert version only: press the two inserts into the top posts with a soldering iron at about 220 °C, until they sit flush with the post tops.
- Remove the stock prop guard and bottom mount from the Cinelog30 V3.
- Fit the O4 Pro into the cage. In the plain version it drops straight in; in the insert version, tilt it in past the round post tops.
- Check that the microSD and USB-C ports line up with their windows, then fix the air unit with the four M2 screws.
- Route the antenna coax and camera cables inside the housing, mount the plate on the frame and check that nothing touches the props.
Flying it
I have flown the PETG version a bit already, and it does the job. Less weight and no ducts are exactly what I wanted for outdoor chasing: better handling in the wind, more speed, and a more stable, responsive drone, all under 250 g.
It is honest to say what it is not:
- It is not as sturdy as the injection-molded guard. It survives hard landings, but it is a printed part. If you are a careful pilot and land properly, it is fine.
- There is no prop protection. Without the guard, this setup is for open spaces, not for flying close to people or through buildings.
- It is not tuned yet. I have not touched the PIDs for the lighter, unducted setup. That is next on my list.
A PETG-CF print would be the ideal material for a stiffer, stronger plate, and I plan to try it.
Download and what’s next
Both versions are free to download on MakerWorld as ready-to-print 3MF files, with one print profile each: GEPRC Cinelog30V3 No Prop Guard Bottom Plate on MakerWorld. The files are shared under CC BY-NC, so print them for yourself and your friends, but not for sale.
https://makerworld.com/en/models/3550631-geprc-cinelog30v3-no-prop-guard-bottom-plate
For the full background on the drone itself, including flight time, battery choices and GPS setup, read my GEPRC Cinelog30 V3 review, which now has an update on this plate.
Next on my list are a PID tune for the lighter setup and a PETG-CF print. If you print one, I would love to see photos and hear how it holds up in your crashes.